Over the past three weeks, I’ve been building dining room chairs for the table I built about seven years ago. Needless to say, these chairs have been on the “To Do List” for a very long time. The primary reason it has taken so long is that, quite frankly, I was intimidated about building chairs. Turns out they aren’t easy, but after a pretty steep learning curve, they weren’t as bad as I thought. I definitely went to school on the first chair, which should have just been a prototype. Many of the best woodworkers would’ve built that first chair out of some inexpensive material (if there is such a thing these days) and made corrections to it before beginning to cut into the expensive walnut. But I’m pretty sure I do not qualify among the very best woodworkers.
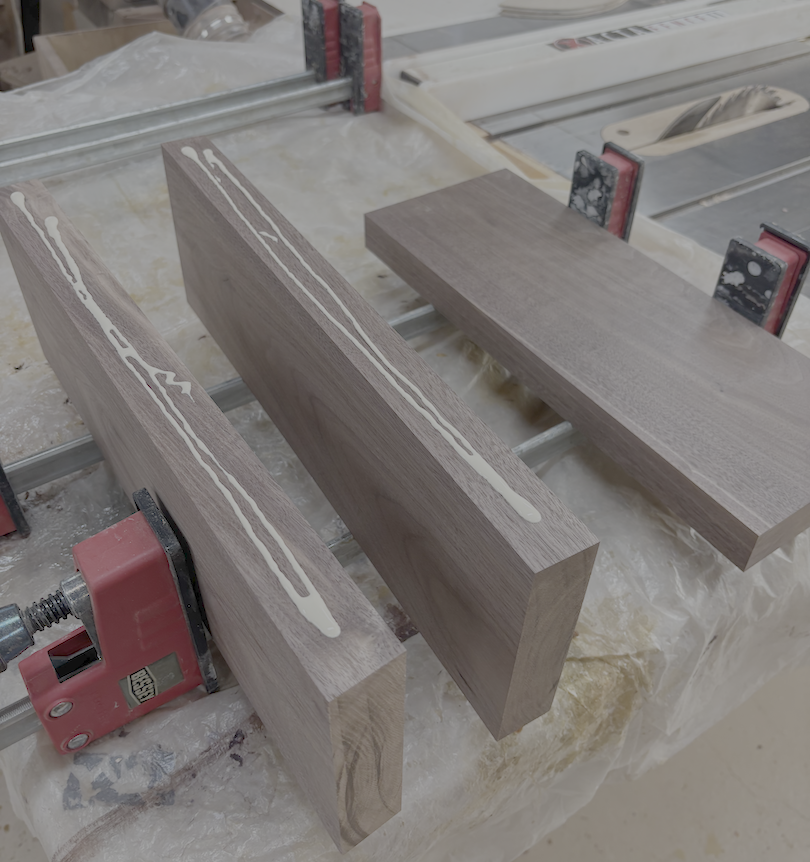
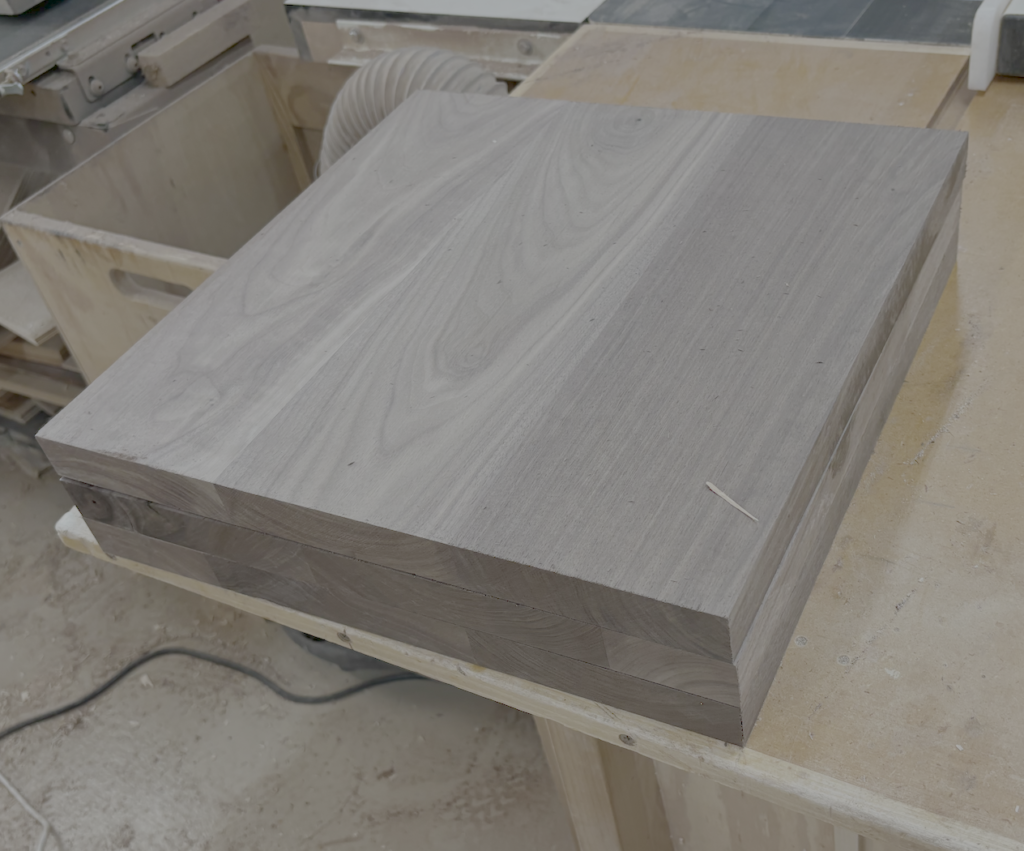
The chairs are standard height with the seat at about 18” from the floor. I used walnut on the seat and dished out a nice spot for the bum with a shaping tool on my angle grinder. And I learned quickly that it is not a precision tool. A very light touch and extreme patience are required; otherwise, you end up with a huge hole in your seat. But I got better, and the last two seats are nearly perfect, with the first and second slightly less than perfect.
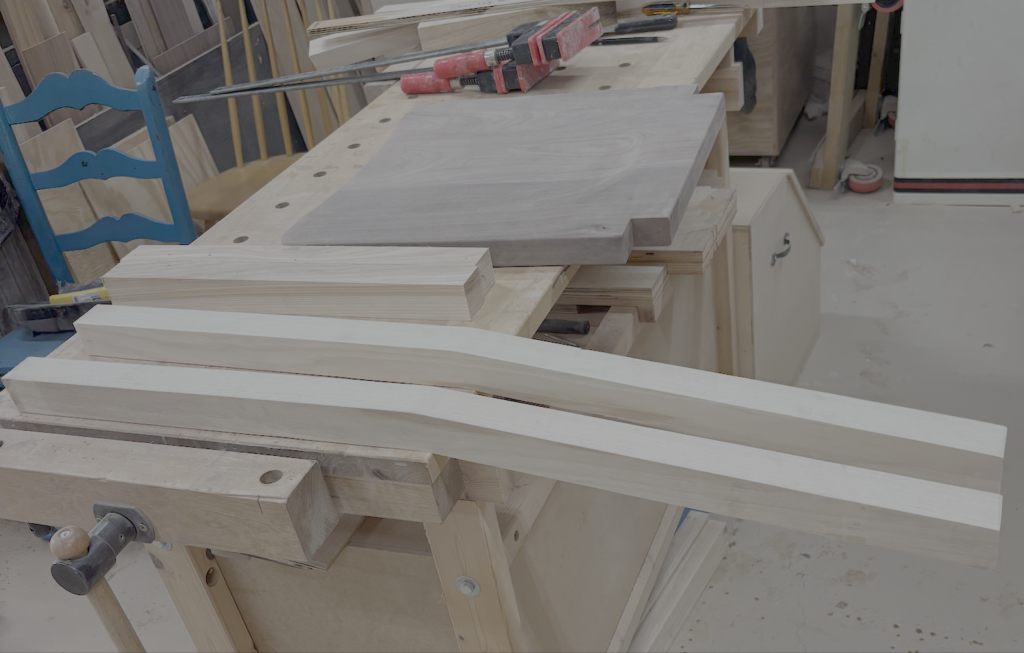
I used hickory on the frame and back supports. I used a large blade in the bandsaw to cut a curve in the back. I started with 2” wide blanks and made as large a curve as I could in that space. Again, I went to school because the bandsaw has never been my favorite tool. While it does a lot of hard work in the shop, getting it set up precisely is a challenge, and I wasn’t quite there on the top and bottom support for the first chair. I got better at this as well and began to create almost a perfect curve straight off the bandsaw with just a bit of sanding to get the blade marks out.
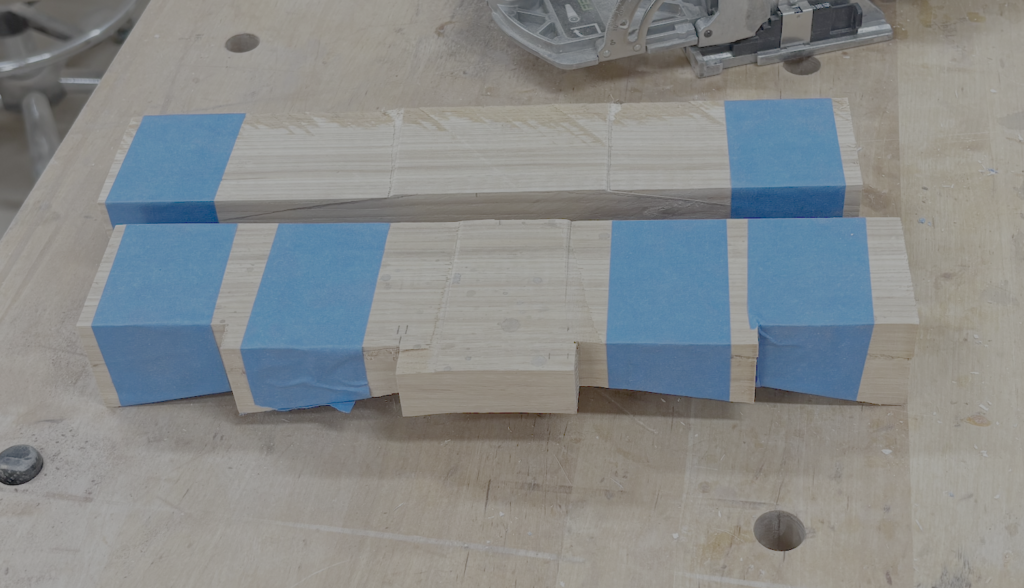
I should say something about the legs. I don’t know the exact angle of the back legs, but I used a solid piece and cut the back leg with a slight angle to make it more comfortable for sitting. I started with a blank from a piece of birch plywood and sanded the edges perfectly smooth. I rough-cut all the legs on the bandsaw and then took them to my router table with a large pattern bit and carefully cut them to the pattern. It was challenging and required a lot of up-cuts to avoid going against the grain. While there were many challenges in this build, cutting along the legs with a pattern bit was one of the more challenging. It ranks up there with cutting the dip in the seats.
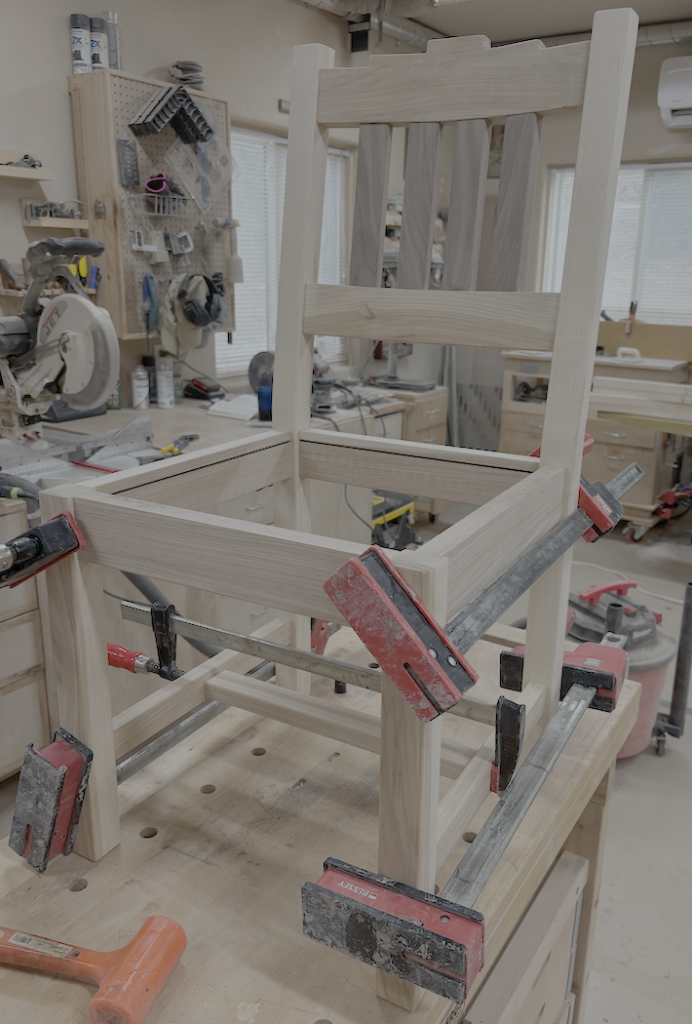
I used loose tenons (my go-to joinery) to put it all together, and the order of operations had to be very carefully worked out. The back with the slats had to be glued up first, and I used a slow-setting glue so I could get them set between the back legs with the back apron before they started to dry.
Finally, I used a mix of BLO, varnish, and mineral spirits to finish the chairs. It takes several coats this way, but it builds up a very strong finish worthy of the rough living these chairs may experience in our kitchen. It was a fun and challenging build. I’m glad I did it. I built some confidence and got a big item off the To Do List!