14 March 2016 Child's Chair
Hits: 8565
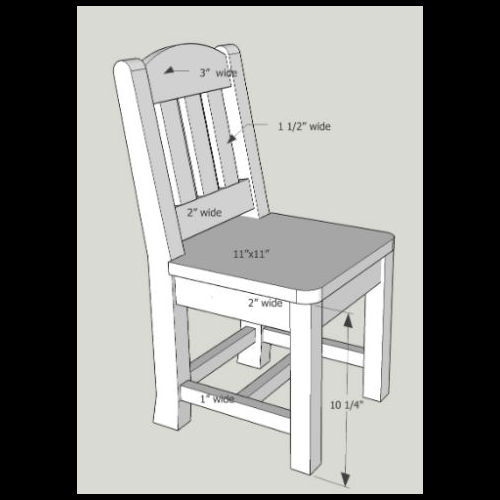
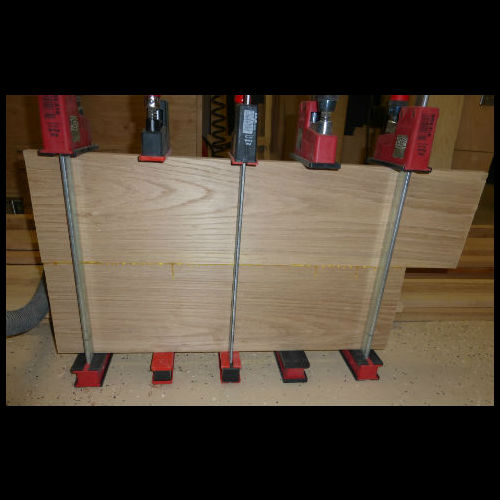
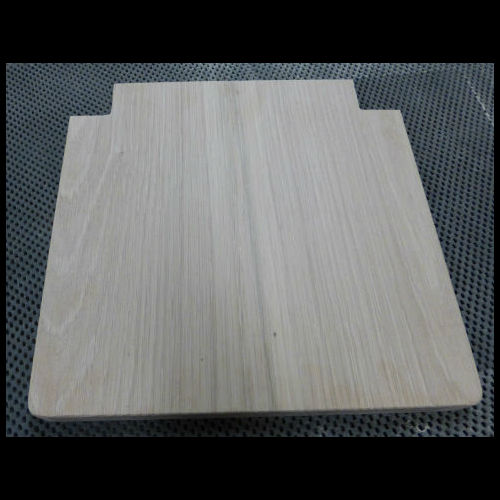
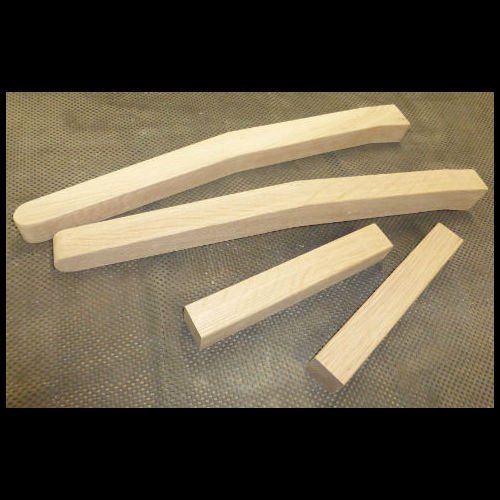
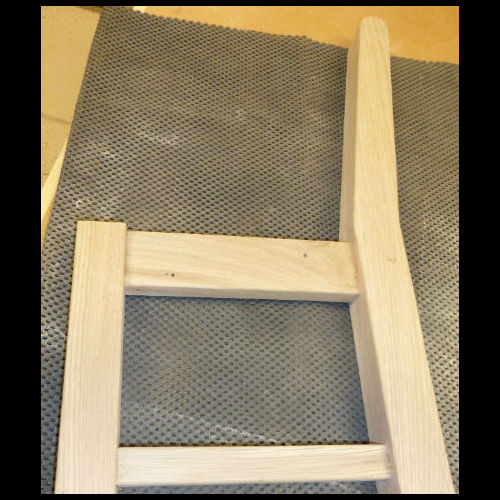
I started by finding an example chair on the web. I got some information about the sizes of the chair and started drawing the design the chair that I wanted using SketchUp (SketchUp). Because the back leg had a bit of a unique shape and an angle I drew out the pattern on a piece of poster board (Image1). I used an 11 degree angle for the back of the chair the same angle I used for my full-sized chairs. While I was working on the frame of the chair I selected a good piece of wood to joint up for the seat (Image2). When it was dry I cut the shape based on the sizes I used in SketchUp (Image3). Then I cut out all the pieces for the sides (Image4) and glued up the sides (Image5). Because this was a prototype, I did a lot of dry fits to get exact measurements for the pieces (Image6). I used floating tenon joints with the Festool Domino to put the chair together (Image7). The small sized tenons worked great for the rails for the back of the seat.