10 Jan 2014 – Basic Mortising
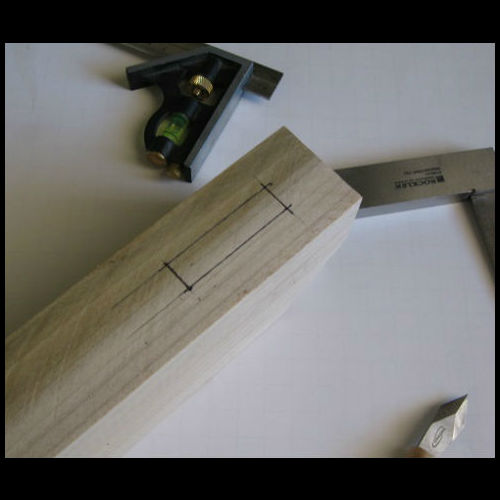
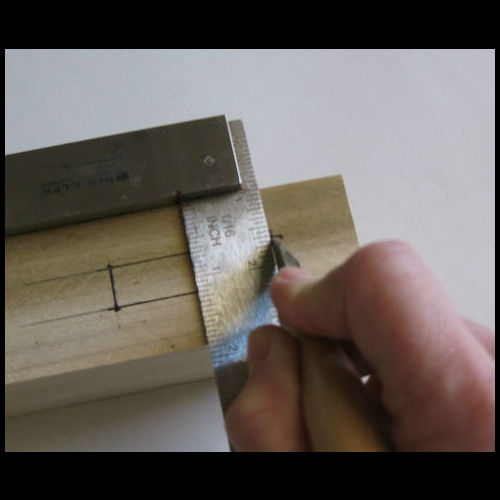
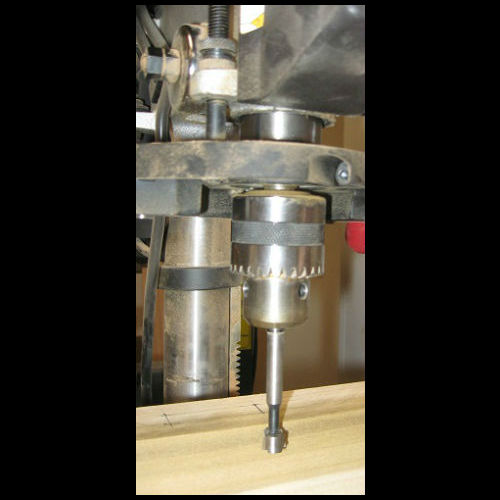
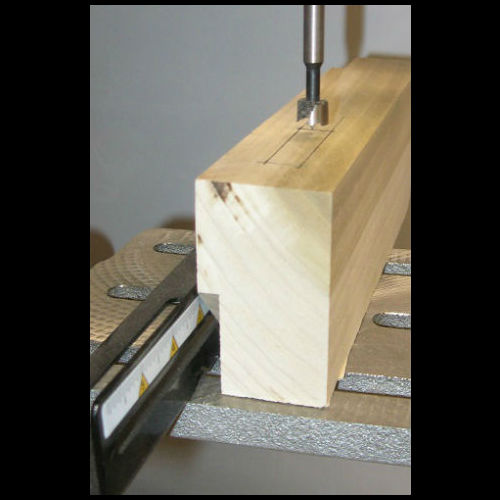
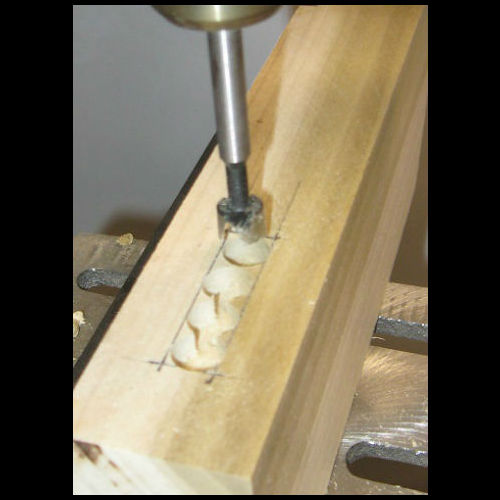
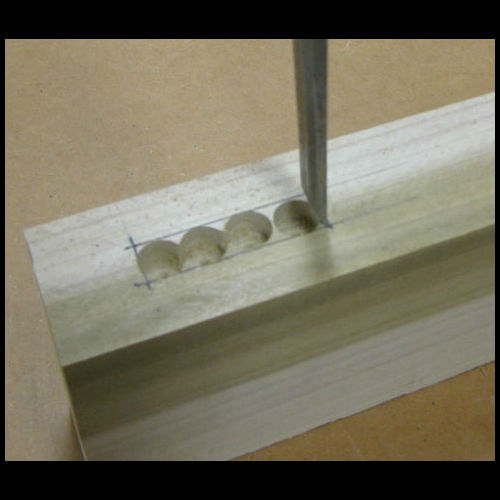
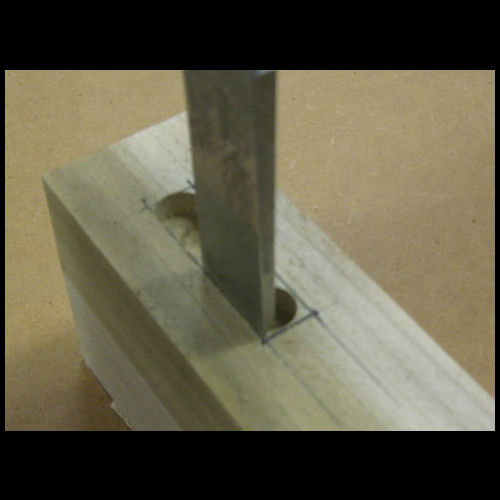
To lay out the mortise: The thickness of the tenon determines the size of the mortise. As a quick and easy rule of thumb, divide the thickness of the tenon board in thirds and then round up to nearest common drill bit size. (A) Mark the length and width of the mortise with a pencil and (B) then score the opening with a marking knife by placing the knife blade flush against the combination square set to the correct dimensions. Drill out the waste: Once the mortise is marked start drilling out the area with a series of straight holes. (D) Set up a fence on the drill press to keep the holes aligned. If your drill press doesn't have a fence then create your own with MDF or plywood. Use a brad point or Forstner bit the same size as the mortise. (C) Set the stop of the drill press to the desired depth of the mortise add an extra 1/16th inch for glue. (E) Drill holes at each end of the mortise and (F) then drill out the waste between the end points. Chisel the sides: Use a very sharp chisel to clean out the material that remains. Clamp the piece securely to your bench and start with the end of the mortise. (G) Place the chisel in the score mark created with your marking knife and hold the chisel vertical with the bevel toward the center of the mortise. Tap the chisel with a mallet driving it about ¼ inch at a time. (H) Use a wider chisel to clean up the sides. Make the sides as smooth as possible to produce the best glue surface.