9 July 2016 Little Boxes
Hits: 6157
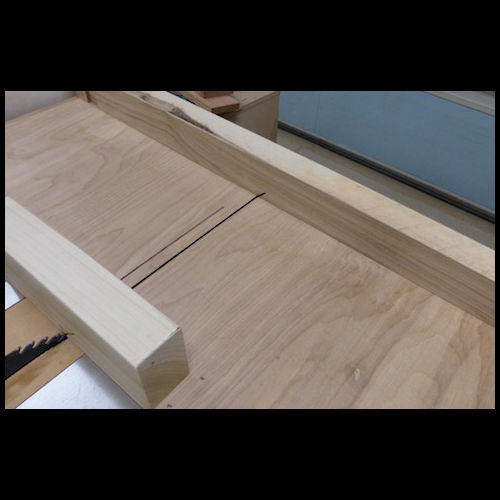
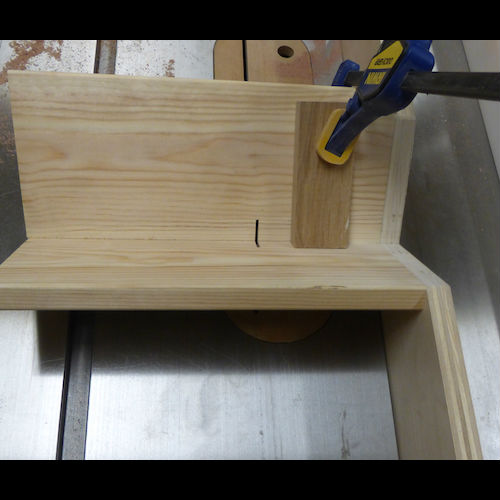
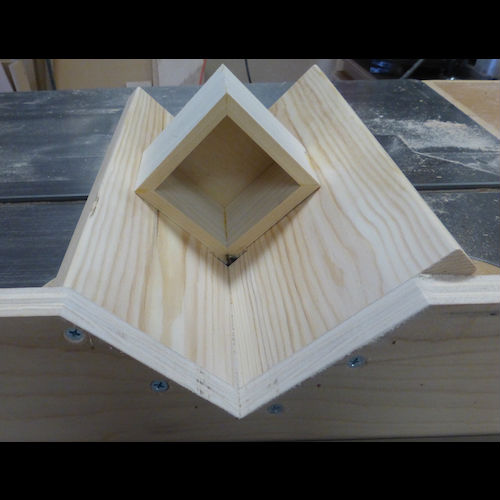
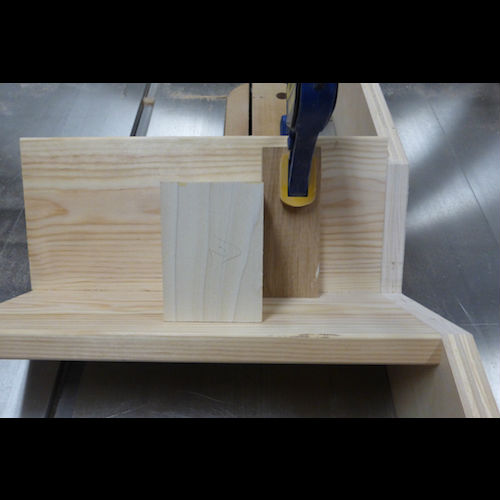
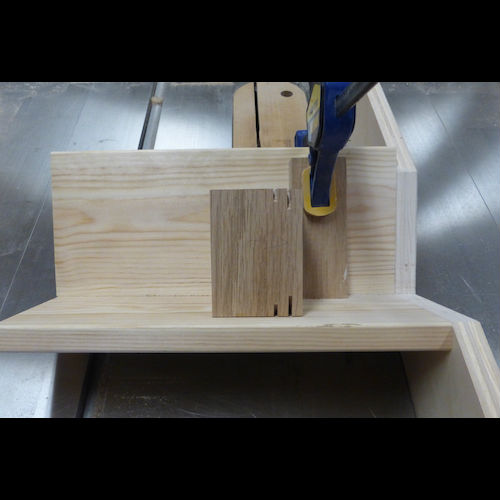
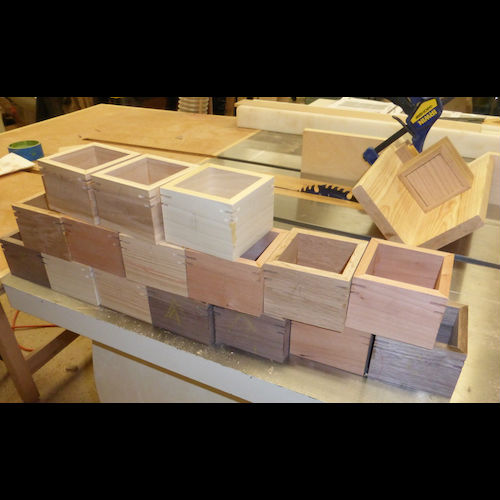
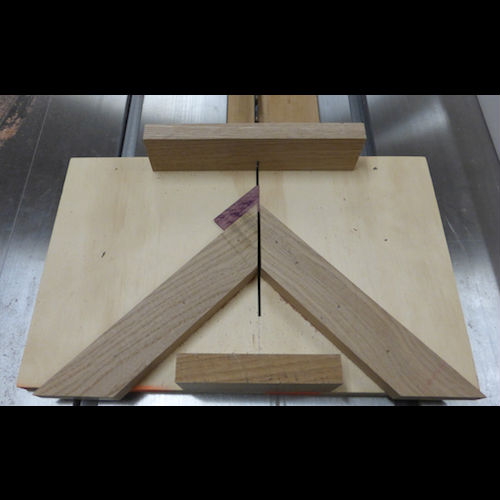
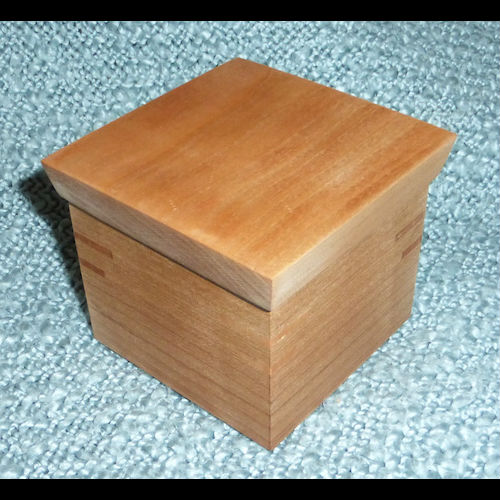
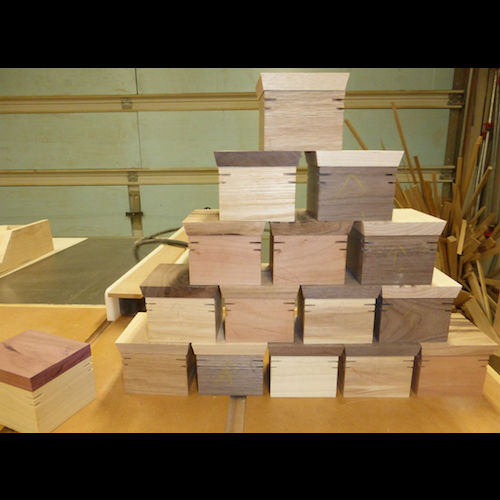
The first jig is a sled to cut the mitered corners (Image 1). I marked out the sides of the box on the stock and used the sled to cut the corners (Image 2). I flipped the stock over after every side was cut so the sides would match up all the way around (Image 3). After all the sides are cut, make a saw kerf on the inside of the bottom to hold the bottom. Use 1/4" plywood for the bottom cut to fit in the slot. Then use tape to lay out the pieces for glue-up wrapping the pieces around the bottom. Be sure and sand the inside before glue-up. After the boxes are dry use the next jig to cut the slots for the spline keys (Image 4). Set the blade so it won't cut completely through the box corner (Image 5). Make the first cut about 3/8" down from the top. Set a stop block to repeat the cut (Image 6). Then move the stop block over another 3/8" and lower the blade slightly and repeat the process to make the second key (Image 7). Repeat until all the boxes have two spline keys on each side (Image 8). Use the small miter jig (Image 9) to cut the spline keys. Glue the keys in place and then use a saw to cut them short before sanding them smooth to the side (Image 10). Cut the top with a lip to fit tight inside the box. Then cut a 12 degree bevel on the sides to that the bottom matches the dimensions of the box.