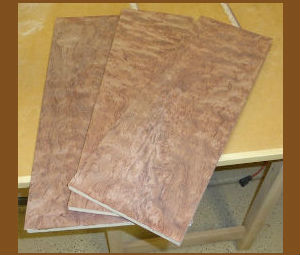
 “Veneering without a Vacuum Press” Beautifully Figured Bubinga on MDF.
I've been trying some new woodworking techniques lately and veneering was on the list. Unlike the inlay/marquetry, I'm not sure I will use this technique for anything except maybe building decorative boxes, but it has been a lot of fun to venture out of my comfort zone.
I was inspired by The Wood Whisperer. Over the past four or five years, I've been watching Marc Spagnuolo on his free video website and learning much about fine woodworking. A couple years ago Marc published a book called The Hybrid Woodworker (I highly recommend it.) I pre-ordered the book and with it I got one of his Guild projects.
 “An Inlay for the Top” Creating an Inlay with Exotic Wood Pieces.
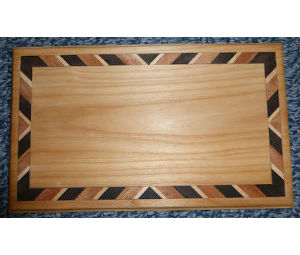
I recently took some time off to learn some new techniques. I discovered I really enjoy doing marquetry. I prefer to call it inlay, since at this point, I'm just creating simple straight patterns. This picture shows an example of one of the box lids I created. It's actually pretty easy, but it does require some small cuts on the table saw and bandsaw, so use push sticks and extra caution.
Step one, go through your scrap pile for some interesting exotic and/or contrasting woods. I didn't really have much in the way of exotic woods except some wenge and mahogany from customer projects. I decided to throw in a maple strip as well. And I always have some alder around. I use it quite a lot for projects when customers want something stained, so I decided to use it to build the box; turns out it complimented the inlay strip nicely.
 "Cut Tight to the Waste Side" Create the perfect shape by cutting outside the line.
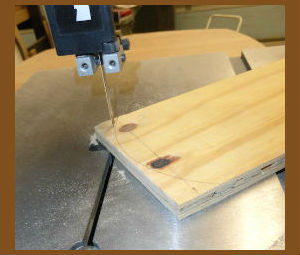
In order to ensure a perfectly cut piece for a fit or design when using a bandsaw or jigsaw, it's always best to cut on the waste side of the line. It is a bit of an art when it comes to how much to leave, but if you can get it to about 1/32" sanding, planing or scrapping it right to the line is pretty easy. If you try to cut right to the line, you leave no room for small errors or a slightly wandering blade. The cutout line drawn with a pencil separates the work piece from the waste. It's best to think of it as a "No Passing Zone" meaning don't cross the line.
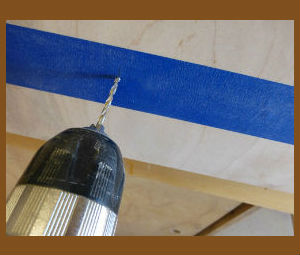
 "Drilling Tips to Avoid Tearout" Bradpoint bits & Blue Tape.
I recently built some new shop furniture with drawers, and I wanted to make sure the handles went on without splintering the face frame. Drilling the holes for the handle can damage the surface if not done correctly. While it's not critical for shop furniture to be flawless, it is a good place to practice good craftsmanship.