14 Feb 2014 – Sharpening Basics
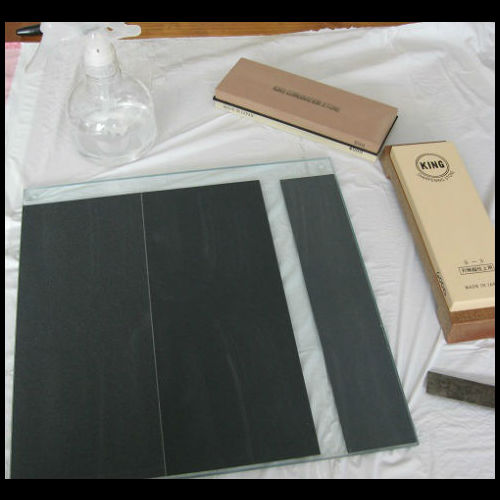
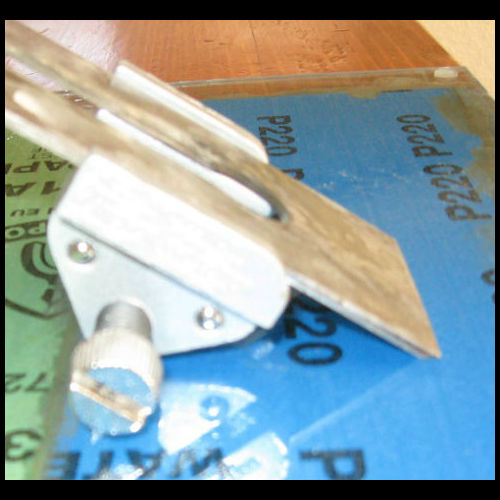
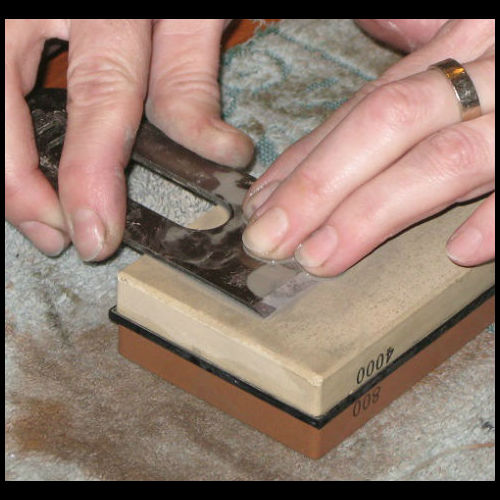
Flattening the back provides one of the two intersecting planes. Most tools have grinding marks left in the steel. The goal is to remove the scratches and polish the surface. Begin with sandpaper and move to the course stone. Move up to the fine stone and polish the back to a mirror surface. Move the back in a circular motion until you replace the scratches with a finer set of marks from the stone or sand paper. Then move to the next finer grit and repeat. Honing the bevel is a little more difficult. I use a honing guide to preserve the bevel angle during the sharpening (see image below). There are several different honing guides available. I use Rockler's model, but I hear the Veritas MKII is the best, but also very pricey. First set the proper angle for the bevel. This is simple to do with the honing guide. Just use the angle already ground on the blade. Hold down the bevel on a hard surface and slide the guide up to meet the blade. Then tighten the guide to clamp the tool in position. When sharpening, move the blade in long strokes across the full length of the stone. Don't press too hard. Use only enough pressure to keep the edge engaged evenly across the width of the tool. It's also important to use as much of the surface of the stone as possible to avoid creating a low spot in the stone. After you have moved through all the grits with the honing guide on, remove it and grind the bur off of the back of the blade. It is created from the metal folding over during sharpening. Take the time to sharpen your tools. A dull tool can be more dangerous than a sharp one. Fine Woodworking has a great video on sharpening on their Start Woodworking Series.