2 May 2015 Veneering with Platens
“Veneering cont.”
On his site, Marc has a pay-section, called The Woodwhisperer Guild, where he does long-form video training sessions. They are amazing and worth every penny. The video that came with my pre-order was a veneered humidor. I have absolutely no need for a humidor, but the veneering was very cool. I'm using Marc's techniques to build a veneer decorative box. If you really want to learn this to do this well then check out Marc's site and join the guild or just order the project you want to build.
I ordered my veneer, veneer softener and glue at Veneer Supplies . The veneer was beautiful and shipped professionally and quickly. Since I had never done this before, I ordered the Veneering Essentials Combo. I got a sharpened veneer saw and glue roller as well. I ordered enough bubinga, a reddish Africa hardwood, veneer to build a box 11"x6.5"x4.5" If you know anything about veneering you're probably wondering if I had to buy a veneer press. The answer is no. I probably wouldn't have tried veneering if I'd had to make a lot of major purchases. I used Marc's platen technique — two long flat pieces of MDF covered in cork with two 3" cauls on either side to apply even pressure to the veneer-covered board--1/2" thick MDF, the sub-straight.
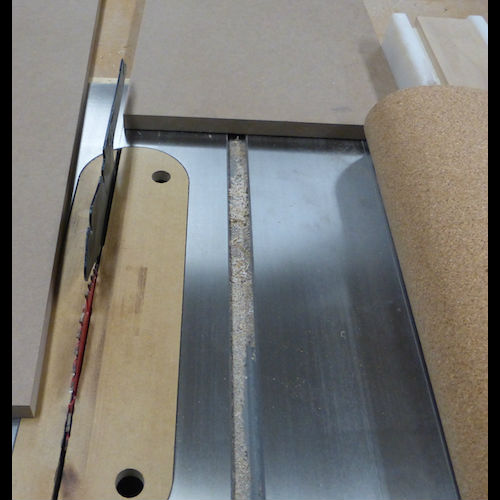
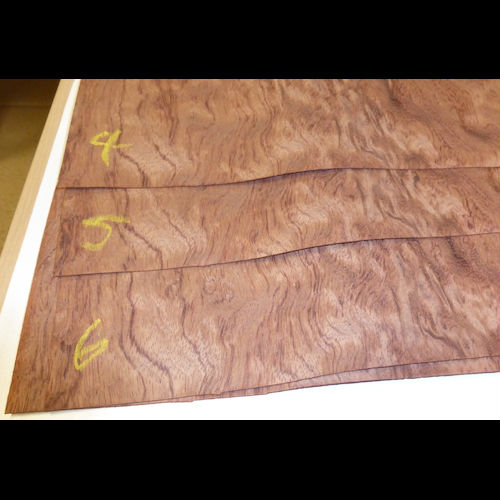
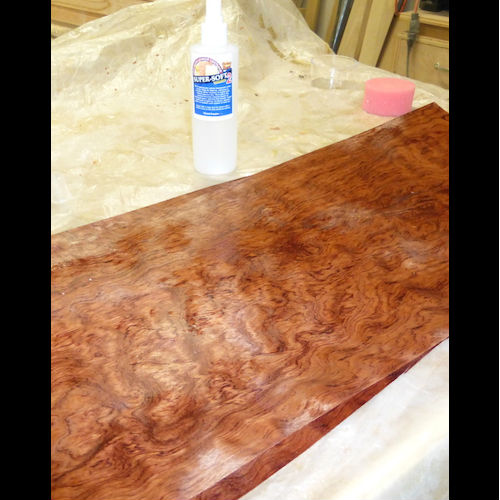
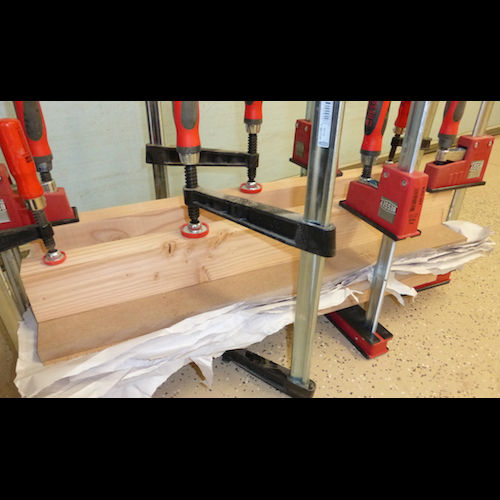
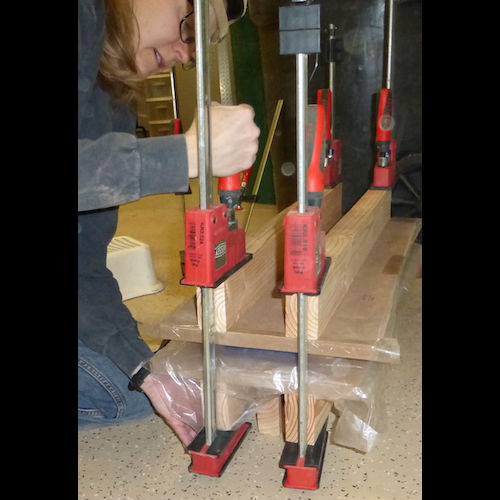
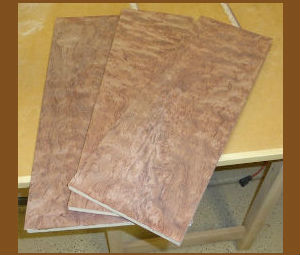
First thing to do is build the platens. I used 3/4" MDF. I cut the pieces about 8" wide and 36" long (image1). I ordered some cork board in a roll from Amazon and used spray on adhesive to secure it to the MDF (image 2). I clamped the boards together and let the adhesive set. Next, I spread out some plastic over my workbench and carefully unwrapped the veneer. It's a good idea to label the sheets (image 3) I laid it out flat and sprayed the veneer softener over each sheet front and back (image 4). I let them sit for about ten minutes so it could soak in, and then I set up my platens with two cauls on the bottom and started building a veneer sandwich--first a layer packing paper, then a vinyl screen, then a sheet of veneer, then paper, screen, veneer until all the sheets of veneer are stacked and separated by screen and paper. I then put the top platen on with two cauls directly under the bottom cauls and clamped! I left the giant and heavy veneer sandwich for 24 hours (image 5). I opened it up on Monday when I got home from work and the sheets were beautiful and perfectly flat. They were a little cool to the touch still so I placed them all back in the platen with dry paper between them and sealed it up again until the weekend.
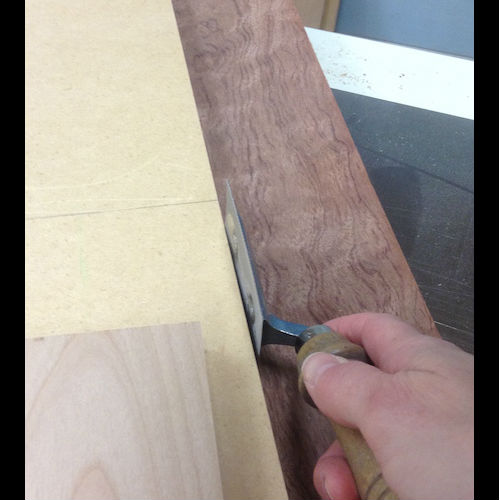
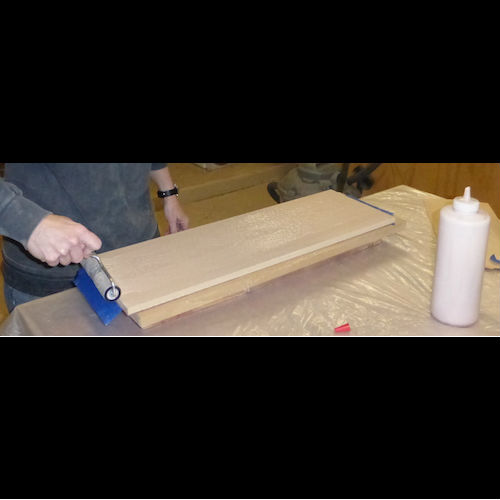
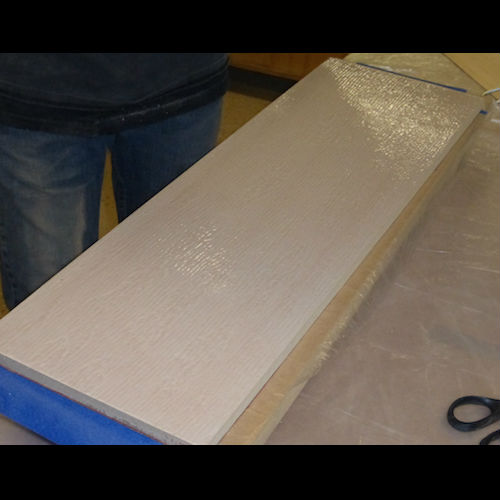
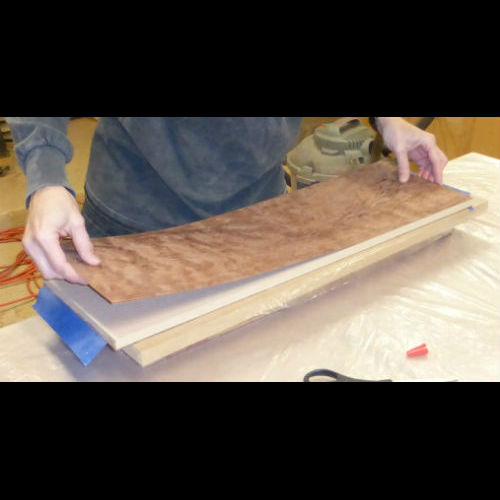
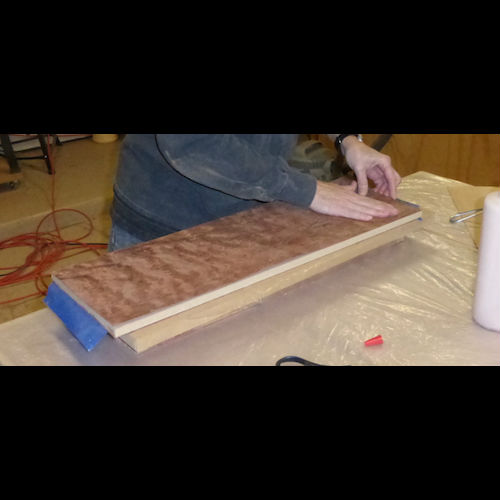
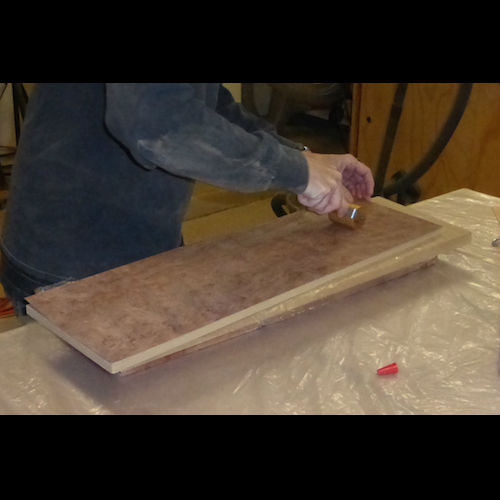
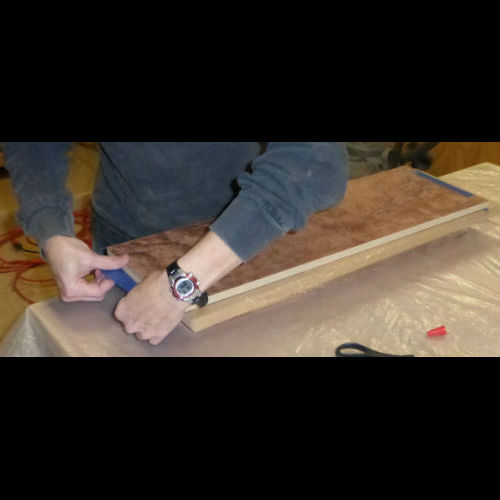
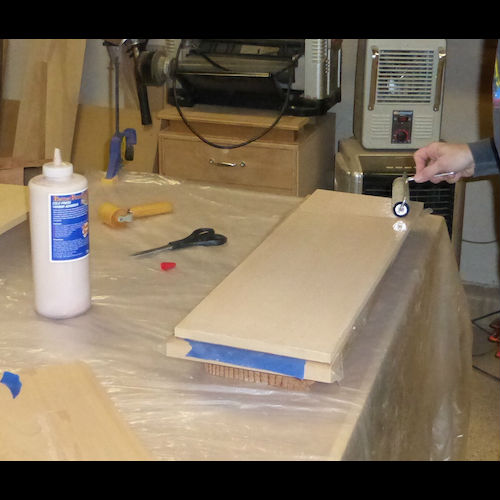
I cut my 1/2" MDF to size and then used the MDF as a guide and straight edge to cut the veneer to size. I ran the veneer saw flush against the edge of the MDF several times until the veneer separated. Use moderate pressure so you don't tear the veneer—let the saw do the work. (image 6) With the veneer cut to size, it was time to start gluing. I spread a thick layer of veneer glue on the sub-straight (image 7) and then placed the veneer on the glued surface (image 8) and pressed it down with the roller (image 9). I used blue tape and secured the ends so the pieces didn't roll up (image 10, 11). I repeated the process for the other side (image 12, 13, 14) and placed it all in the platens (image 15, 16, 17). Make sure you cover the cork with plastic or packing tape in case the glue seeps through the veneer. Continue with all your pieces and stack them in the platens with a piece of plastic between each veneered sub-straight. Now wait at least 24 hours for a beauitful veneered surface.